Deploying a Project to Heroku + Netlify
Learn How to Deploy Subfolders to These Popular Hosting Sites
When I was going through my bootcamp, we were taught to make separate repos for the frontend and backend. However, I’ve recently had coding challenges from companies that preferred the frontend and backend to be in the same repo. After a couple of hours stressing over why my subfolders weren’t deploying correctly, I finally figured it out. There are other guides out there that touch on this topic, but I hope to write the guide that I wished I would’ve had.
Deploying Your Backend on Heroku
Let’s start with the backend first. If you do not have a Heroku account already, create one now. In your Heroku dashboard, create a new app. Now open your terminal to the root directory of your project. We are going to deploy using the Heroku CLI.
If you do not have Heroku already installed use:
npm install -g heroku
First, login into the Heroku CLI:
heroku login
Then, create a remote heroku git repository with the same name as the app you created earlier in Heroku.
heroku git:remote -a my-project
Now, we need to push up a subtree for the folder we want to host on Heroku. I have the following file structure:
|───my-project
    |───frontend
    |───backend
         |───app.js
From the my-project root folder, run the subtree push command for the backend folder or whatever folder you are trying to host.
git subtree push --prefix backend heroku master
Hopefully, your project starts to build after that last command! There are two more steps left to successfully deploy your backend on Heroku. Usually, a .env file is used to hold sensitive variables like database name and password. These need to be added on the Heroku website. Navigate to the settings of your app on the site. Go to config vars and add in each var in your .env file.

If you tried to open your app through Heroku, you may still be encountering an error. This could have to do with your port and host. For a Node.js app you need to set the host to ‘0.0.0.0’. You also need to set the port with a .env and a backup. Add the following lines to your app.js
const host = '0.0.0.0';
const port = process.env.PORT || 3000; //set to whatever you’d like
Don’t forget to add the port to your .env AND the config vars in the heroku settings dashboard of your app. Now, your app should be up and running on Heroku!
Deploying Your Frontend on Netlify
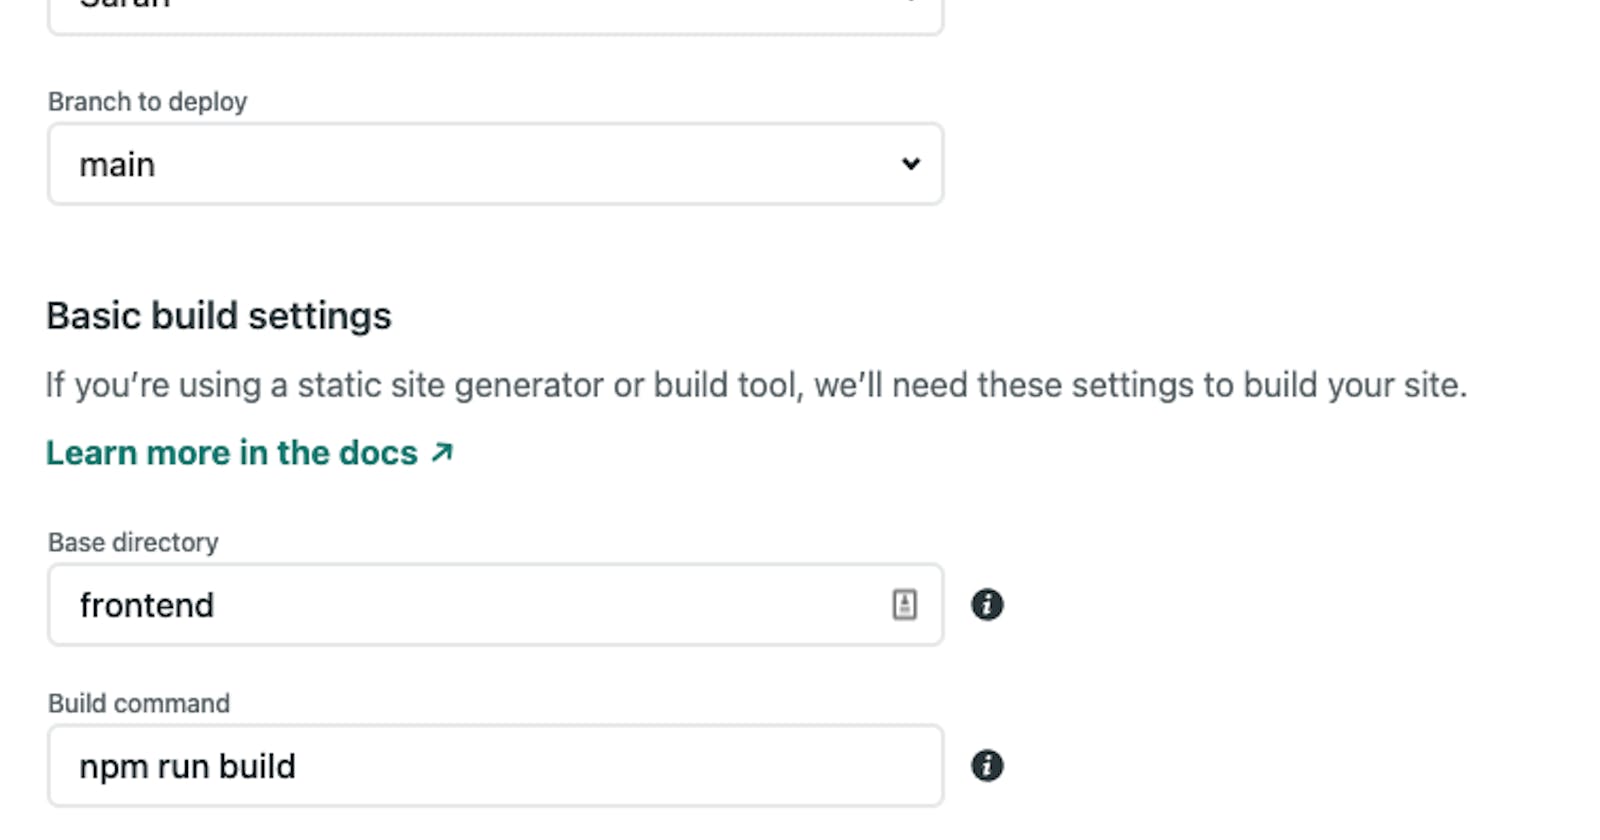
Deploying a subfolder to Netlify is thankfully quite easy compared to Heroku. Login into Netlify and click on New Site From Git. Select the appropriate git repo from the search. Change base directory to frontend (or whatever your folder is called). Add build command npm run build (for react apps) and change publish directory to frontend/build. Hit Deploy Site and you’re done!

Hopefully, this guide was helpful in learning how to deploy subfolders to different hosting sites. Thanks for reading! ✨
